Jetraw Image Compression
This sections hosts Desktop Clients to test Jetraw image compression software. For more information about Jetraw, please visit https://jetraw.com/.
Quick start
Jetraw can be used free of charge for decompression. You can try compression on a sample set of microscopy images by applying for the free testing kit at https://jetraw.com/downloads/software.
Jetraw UI
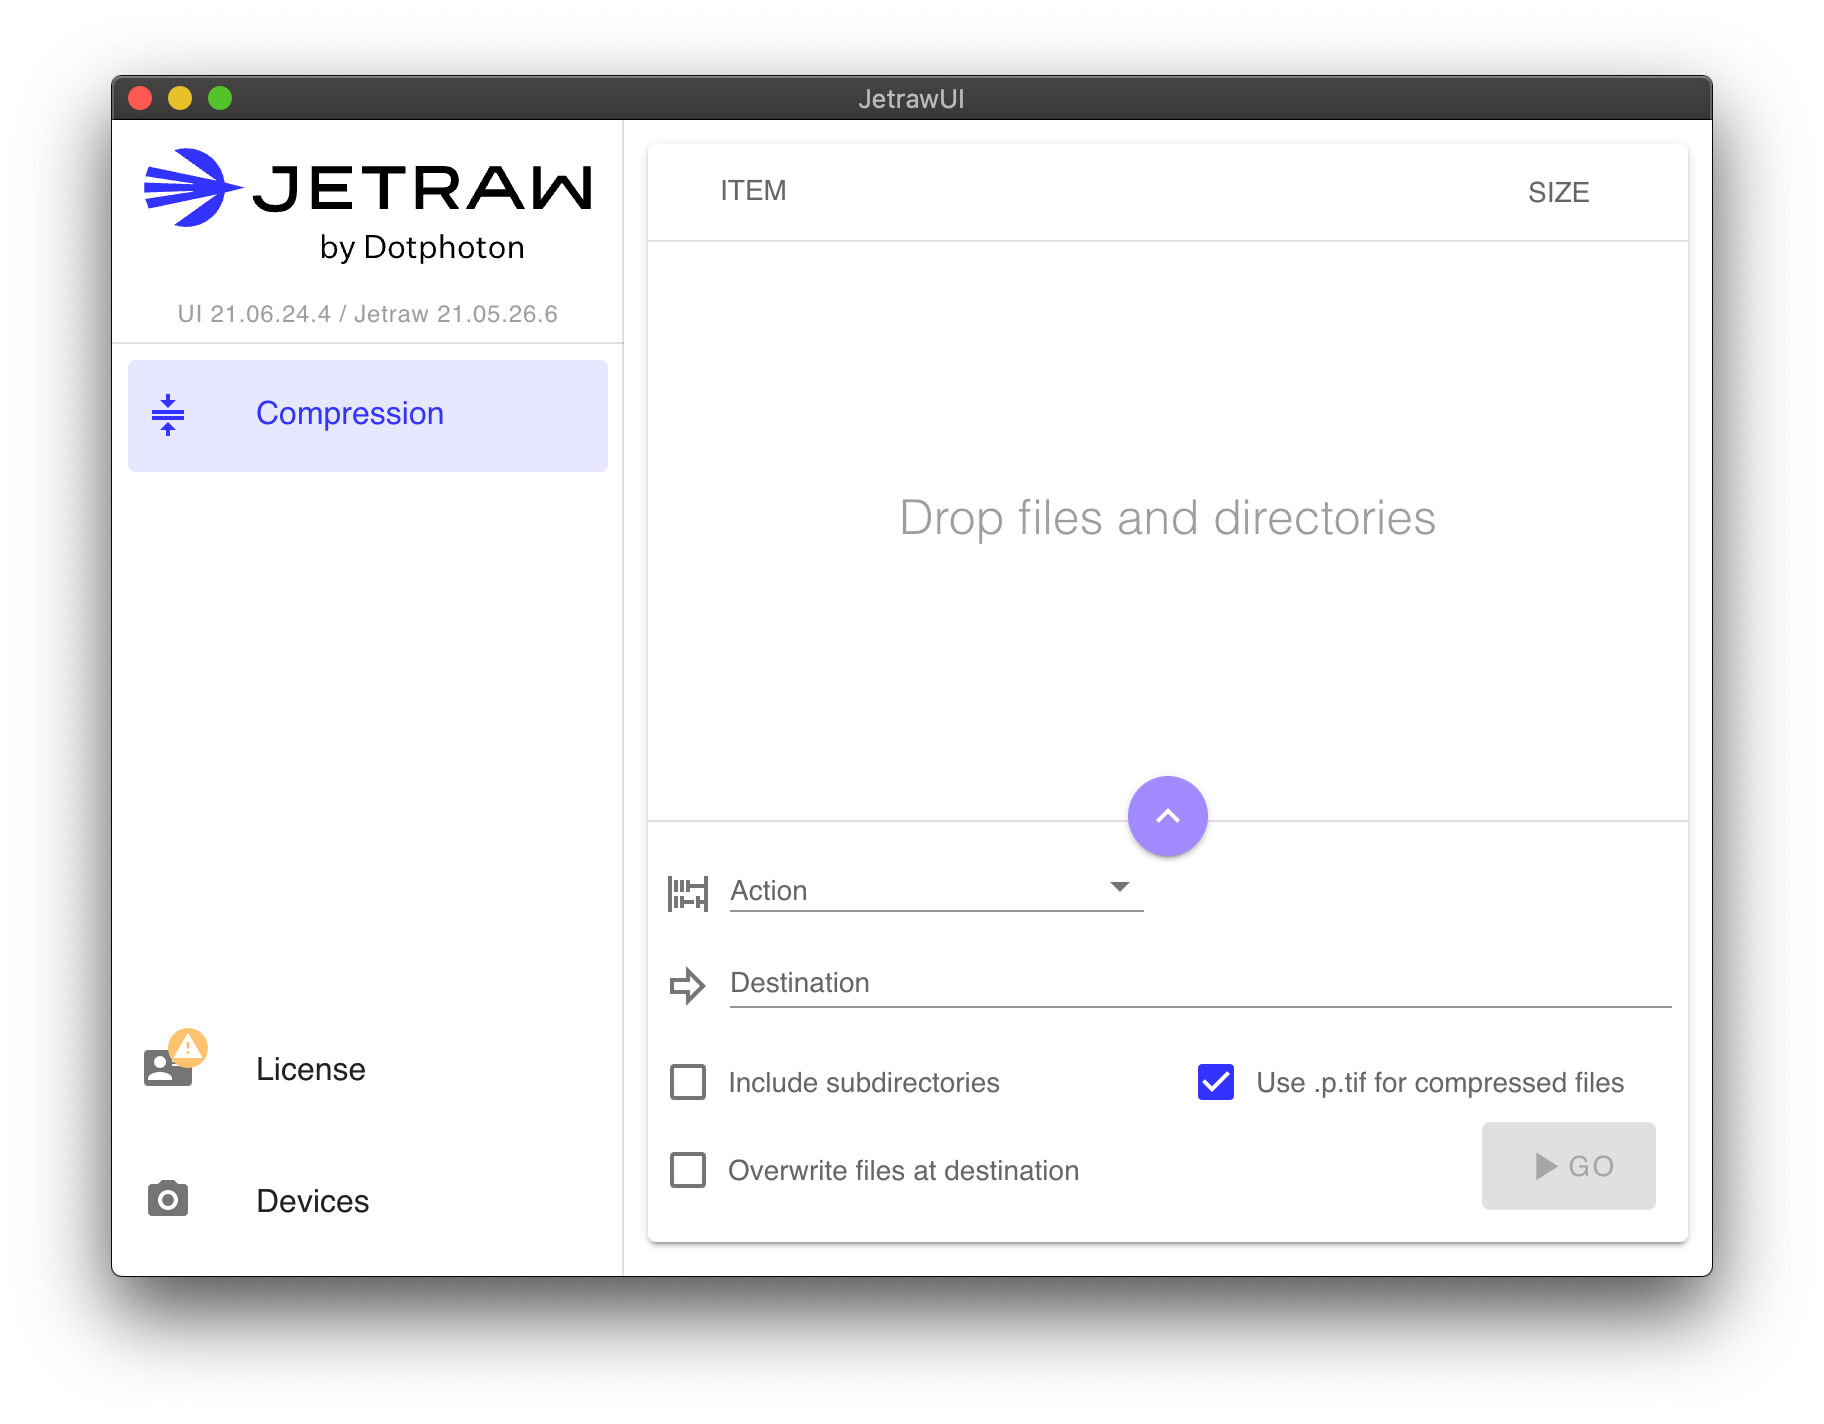
On Windows and macOS, Jetraw comes with a UI, where you can easily enter and check your license data, install and view device calibrations, and compress / decompress TIFF files.

To get started, you can follow the following steps.
Windows installation
Download the Windows installer (MSI file) for the latest (pre-)release.
Run JetrawUI, either from the installer or from the start menu.
Note
Please verify that the bin64 jetraw installation folder is included in the Environment System Variables (e.g. C:\Program Files\Jetraw\bin64). If not, the UI app will not be able to find the necessary libraries to run.
macOS installation
Download macOS disk image (DMG file) for the latest (pre-)release.
Open the disk image in Finder and drag
JetrawUI.apponto theApplicationsfolder. Launch JetrawUI from the Applications folder.
Setup and compression
Enter your license key after following the corresponding menu item on the left side.
To add support for a camera, click on “devices” on the left and drag-and-drop the file with the extension
.datthat you received onto the right panel. A new device should appear.Open the compression panel. Drop some TIFF files, acquired with the device that you installed above. Choose compress as action and select the identifier that matches the camera settings. After choosing a destination directory, you can start the compression by clicking the “Go” Button.
Linux
On Linux, Jetraw does not yet come with JetrawUI. You can install the command line utilities and development libraries by downloading and unpacking the .tar.gz file of the latest (pre-)release.
The license key will be found by Jetraw if placed in a file ~/.config/jetraw/license.txt.
Camera calibration files with extension .dat should be copied to the directory ~/.config/dpcore/.
Instructions on how to use the command lines are given below.
Device identifiers
Warning
To achieve its high compression ratio, Jetraw relies on knowledge of the exact statistics given by the camera profile to perform noise-replacement. These depend on the camera’s unique serial number, as well as the settings that were used to acquire the image. In Jetraw, these are accessed through identifiers. Using the wrong identifier may reduce image quality.
Command line utilities
Command line utilities can be run after opening a Command Prompt, PowerShell, or Terminal. The use of the utilities is identical on all operating systems.
In general, Jetraw compression consists of two steps:
Accurate noise replacement with the help of camera calibration data provided through an identifier.
Lossless compression of the noise-replaced data.
The noise-replacement needs only to be performed once, after which lossless compression and decompression can be performed any number of times.
In JetrawUI, noise-replacement is done automatically if necessary. When using the command line, two separate commands offer more fine-grained control.
Noise replacement with DPCore
The command line utility dpcore is used to perform noise replacement. Optionally, this can be combined with compression. To see a description of all possible options for dpcore, run:
dpcore --help
Displaying identifiers
To show all installed identifiers together with a short description, you can run:
dpcore --list-ids
Performing noise replacement
The minimal command to perform noise replacement is:
dpcore [-c] -d <destination> -i <identifier> <sources>
The arguments are as follows:
-cis optional and will apply compression to the noise-replaced files.-d <destination>specifies the destination directory. The directory will be created if it doesn’t exist.<sources>are source files (extension must be.tifor.tiff) or directories containing those files.
Compression and decompression with Jetraw
Prepared images can then be compressed and decompressed without loss using jetraw. As above, you can run:
jetraw --help
to get a list of all available options.
Jetraw does not need camera calibration information, because it was embedded into the image data by dpcore. Hence, using jetraw is usually as simple as:
jetraw compress -d compressed c1.tif
jetraw decompress -d decompressed c1.p.tif
Convenient use of the command lines on macOS
On macOS, the command lines are bundled with the App and can be found at /Applications/Jetraw UI.app/Contents/jetraw/bin/. To conveniently run them from any other directory, you have two options.
Give macOS an additional location to look for executables by adding the Jetraw directory to the
PATHenvironment variable. Open a terminal and run:export PATH="$PATH:/Applications/Jetraw UI.app/Contents/jetraw/bin"
You will have to re-run the command whenever you open a new terminal. To avoid this, you can add the above line to the file
.zshrc(.bashrcon older systems) in your home directory.This method is slightly more advanced and may require super-user privileges on your system. It relies on creating symbolic links in the directory
/usr/local/bin, which is a standard location for user-installed executables. However, this directory may not exist, or it may not be writable. Let’s check that first. Open a terminal and run the following command:stat -f "%N => OWNER:%Su (%Sg), PERMISSIONS:%Sp" /usr/local/bin
If the directory does not exist, it can be created:
sudo mkdir /usr/local/bin
If the output of the
statcommand does not show you as the owner of the directory, you can either take ownership with the command:sudo chown $USER /usr/local/bin
or you can prefix the following commands with ``